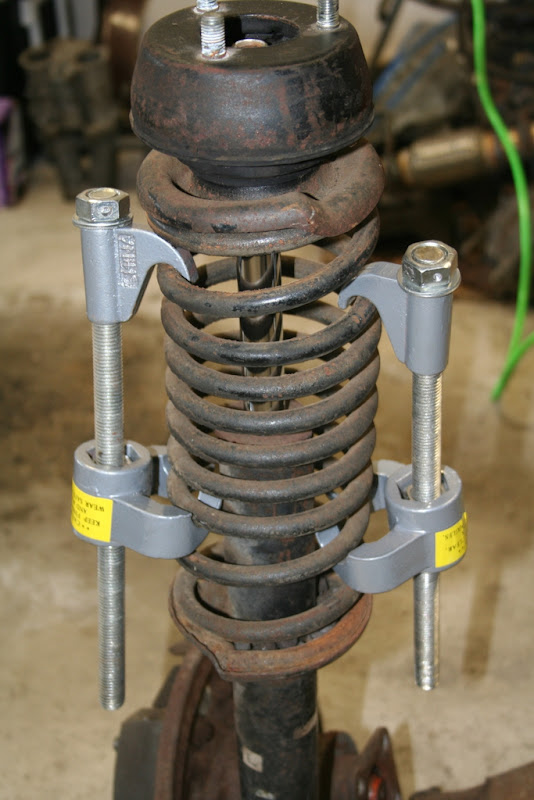
Piece of cake if you have the right tools.
Here is how I did it for those of you that are unsure:
10 Steps to Victory!!!
1. Buy the Spindle pin Removal Tool from John (jtburf) at HybridZ.org. $50 shipped as of 2/1/2011.
 |
| From Z2 |
2. Apply the included Anti-seize copper lubricant to the threads of the rear facing end of the spindle pin.
Note: The rear facing side of the Lower Control arms are flat so you can only use the tool from this side.
 |
| From Z2 |
3. As you can see below, the all thread rod is threaded both inside and out.
 |
| From Z2 |
thread the rod onto the spindle pin.
 |
| From Z2 |
4. Lubricate the outer threads of the rod and slide the included pipe with pipe fitting over it. Make sure the included fitting is touching the LCA.
 |
| From Z2 |
5. Install the included washer and nut onto the rod as shown.
 |
| From Z2 |
6. Heat "the crap" out of the cast iron part that houses the spindle pin.
Note: This will cause the entire assembly to expand slightly loosening its grip on the spindle pin.
 |
| From Z2 |
7. Start slowly tightening the nut with the box end of a 28mm wrench. (I successfully used a 1-1/8" wrench since I couldn't find a metric wrench that size)
 |
| From Z2 |
8. It is extremely important to make sure the spindle pin is pulling through the assembly as you are tightening (see below). It has been reported that if you over-tighten the nut without breaking the pin free, you can strip the all thread from the inside out and you will be SOL.
 |
| From Z2 |
9. Once you are sure the pin is coming out, just keep cranking and cranking, being careful not to bend or strip anything.
 |
| From Z2 |
10. Victory!
 |
| From Z2 |
Once the spindle pin is out you may now get very excited and start telling your girlfriend all about how awesome you are. When it becomes clear that she simply does not appreciate just how awesome you are, proceed to step 11.
 |
| From Z2 |
11. Beer.
 |
| From DirtyS30 |
Time to start building a suspension system.
 |
| From Z2 |