This weekend I was finally able to finish my suspension build.
A few weeks ago my buddy Bruce came over and we measured everything and read all of the instructions for the build.
We used a combination of the instructions that shipped with the Ground Control kit and the write up by
John Coffey from Beta Motorsports available HERE. Read the whole article, but the last part is what was most helpful since it is specific to the Tokico Ilumina BZ3099 and BZ3015 Inserts.
Everything I read gave different measurements, but the basic information was the same. Cut the strut tubes in half and remove a section from the top equal to the difference in length between the stock struts and the struts you are installing.
This is easy enough but I had to find my own measurements and cut and section the tubes strategically so everything fits and works. The most important measurement of this whole thing, is the overall height of the tube as measured from the inside (Internal Height).
Here are the measurements for sectioning 1973 Datsun 240z strut tubes to work with BZ3099 (AW11 MR2 Rear), and BZ3015 (240z Front) strut cartridges. But please remember, before cutting or welding anything, measure everything like nine times.
Front:First, remove the stock spring perch with an angle grinder.
You will have to grind off the welded perch ring so that the strut tube is smooth.
The first cut you make is to cut the strut tube in half 6.5" up from the top of the spindle casting.
Cutting at 6.5" gives you enough room to install the new spring perch later whithout interfering with the stock brake line bracket.
Now the overall internal height of this tube needs to be 13.5". My stock internal height was 15" so in order to achieve this measurement I had to cut 1.5" from the bottom of the top strut tube section, making the top piece 7" long when all is said and done.
When you are using a big baller pipe cutter like mine it creates a lip on the inside of the tube where it cuts. This lip needs to be ground out or you will not be able to slide your strut cartridges in.
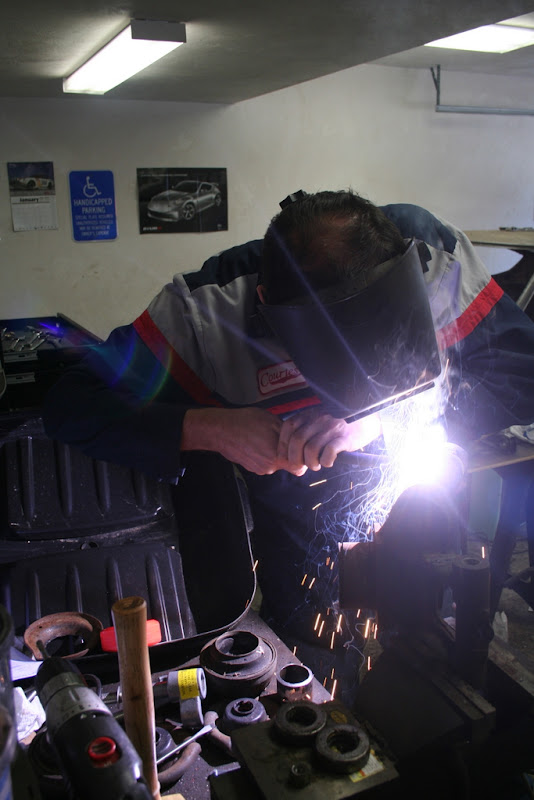
Once you get them cleaned up it's time to weld them back on.
Luckily my stock strut cartridges were blown so I didn't have to worry about heating them up too much. I was able to use them as guides for welding the tubes perfectly straight.
Then weld them up!
Once Bruce was done working his metal magic, I had to grind down the weld a bit so I could slide the new perches over them.
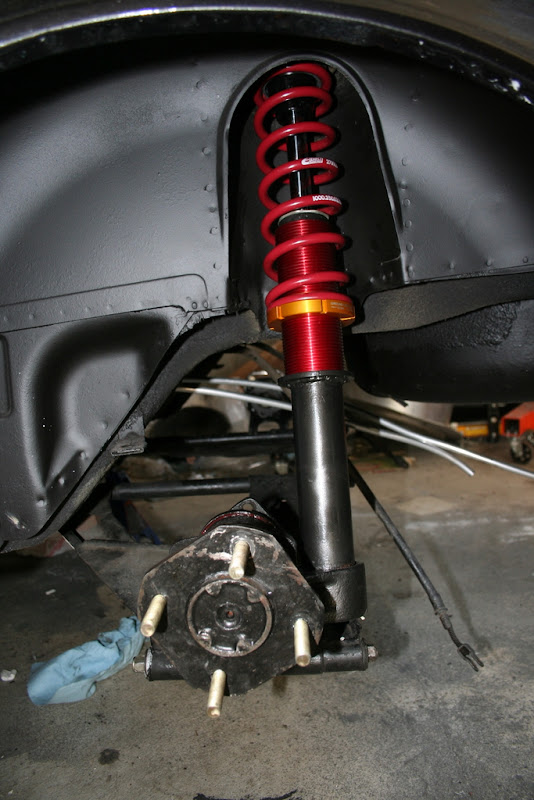
This is the sectioned and welded strut tube with the new perch location measured and marked with the perch around it ready to weld in. I welded the new perch so that the bottom of it was 5.5" from the top of the spindle casting. Also, make sure that the flat side of the new perch is facing the spindle side.
Tack it up and weld it in.
Once it's welded all the way around you're done!
Test fit.
Since the first one went pretty much perfectly (except for the whole
stuck cartridge housing fiasco), we just repeated these steps for the other front strut tube.
Rear:The rear strut tubes were a little easier to do because if you cut it right, you can cut the original perch weld right out of the tube without grinding it all the way down.
You do however have to cut it off.
Once the stock perch is gone, you need to cut the strut tube in half at 8.5", as measured upward from the top of the hub casting.
Grind out the lip.
The stock rear strut tubes measure 16.75" tall as measured from the inside. Since I am running front struts in the rear I need to cut them so that when welded up, they will measure 15" from the inside. This meant I had to cut 1.75" from the bottom of the top section of the strut tube.
Once cut, I test fitted the new strut and it fits perfect. Just enough room for the threaded cap.
Again I used the blown rear strut to help align the strut tube for welding. Never do this with a strut tube that is not blown.
Grind down the weld so the perch can slide over it.
Then have your buddy weld up the perch. The rear perch should be welded so that the bottom of the perch is 7" from the top of the hub casting. This places the previous weld under the threaded tube and out of sight.
Once that perch is welded all the way around you're done!
Test fit.
Just do the same thing with the second rear strut tube and you're dancing.
Please take this as a reference on how it worked for me. If you are going to be installing these parts, make sure you take all of your own measurements and confirm whether or not these will work for you.
The worst thing you can do is cut these strut tubes too short. The overall internal height needs to be very precise and cutting them too short is not easily fixable.
Hope this helps some of you guys that are thinking about building this setup.
If anyone notices any technical errors or if something is unclear, please post up so I can fix it.
Thanks to Beta Motorsports for the writeup! That proved to be very helpful and special thanks to my buddy Bruce who is the mack daddy boss man welder master of the universe.
Peace.






 Posts
Posts


