So all of this preparation, disassembly, chemical stripping, cleaning, sanding drinking, humping, and dumping has all built up to this moment.
This is where the tear down becomes a build up.
It's time to paint her.
First things first, you have to setup your garage to paint.
You need to cover up your precious clutter.
Minimize wall damage.
And have some sort of ventilation so you don't kill your cat (or girlfriend) with fumes.
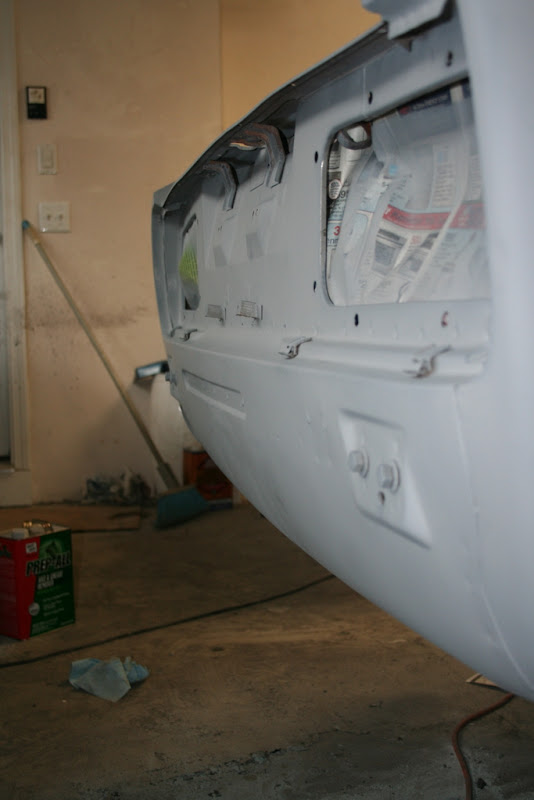
Then you need to clean all of your surfaces with a grease/wax remover.
This ensures that there is no blood sweat and tears still on your car from the tear down.
Then you need to pick a primer.
I chose Transtar's 2k kwik prime. this is a direct to metal, high build sandable primer. It is pretty much everything I could ask for. But not terribly cheap at about $100 for three quarts with the needed activators and reducers.
You need a good old spray gun.
I buy mine from Harbor freight because they are decent and disposably priced. I bought two of them for this paint job. One for the primer and one for the base and clear. See below for why I was glad I did.
This stuff is thick and sticks to everything.
And don't even think about spraying anything ever without a respirator. If you do not use one of these you will die.
Once everything is setup and you are properly equipped, mix your paint to the instructions on the back and spray it!
You will learn how to spray as you go. It's easy when you are spraying primer because if you f*ck it up you can just sand it off.
Once that dries completely you have to sand the entire car with a 400 grit sand paper. I chose to Wet sand the whole car because it works great, the paper clogs less, and there is no dust which is your mortal enemy when you are painting in your garage.
Then spray a second coat.
This time I wet sanded the whole car with a 600 grit paper since I was going to be spraying my base coat right over it.
After the car is completely dry, inspect it. look at everything. Every little detail, because i know you are going to miss something.
I made a list of all the little parts that needed just s touch up and tagged them all with the primer.
Once cured, sanded and cleaned. It's time for Base coat.
I used PPG Deltron 2000 DBC in a Nissan Paint code KV3. Nissan Called it "Grey Lustre", PPG calls it "Charcoal Metallic". The after market reproduction of this color is considerably darker than the OEM color which is part of the reason I liked it so much. It is truly exactly what I was looking for.
Makes me half wish I chose a satin finish. heh But in my opinion, satin colors look great on show cars and race cars. In the real world they just end up looking like lousy paint jobs. Unless of course you keep your car "show car" clean.
Now it's time for Clear.
I bought this clear because it was cheap and they recommended it at the shop. Either this clear is not the best, I suck at spraying clear coats, or both. I am not sure whether or not to recommend this based on my experience with it.
I am sure that this orange peel is due to my spray technique and my gun settings.
But the clear coat really makes that color look good.
That is the most accurate representation of how the color looks in person. Almost black from an angle, and dark ass grey metallic when you get up close.
I couldn't be happier with the color, but the clear needs some love.
I will be wet sanding and buffing tonight.
Wish me luck.


Great work man! That color looks awesome! Good luck with the sanding and buffing.. take your time, it'll be worth it! Get a good rotary buffer and some Menzerna SIP, and the buffing should be a breeze.
ReplyDeleteWowza!
ReplyDeleteNice job so far. Can't wait to see it once it has been buffed.
ReplyDeleteThanks guys. I started wet sanding with 1500 and it is taking forever!
ReplyDeleteI am trying to be patient.
Are you sanding by hand..??
ReplyDeleteYeah. I'm going to try it with a block tonight though. I just feel like I have more control when I hand sand.
ReplyDeleteIf you've got a lot of orange peel to sand, and assuming you put on a lot of clear, I'd try a DA sander.. then finish of by hand / block..
ReplyDeleteYeah I guess I put on a lot of clear which is why I have so much orange peel. I'll post up my results good or bad.
ReplyDeleteAnd thanks for the tips btw. Much appreciated.
ReplyDeleteHoly shit thats nice! keep it up my friend. as of right now, you and me both have a mission to complete in 52 days. good luck homie!
ReplyDeleteThanks man! You too.
ReplyDeleteDamn that is a gorgeous color!
ReplyDeleteThanks dude. Can't wait to get this thing on the road.
ReplyDeleteYou did an awesome job! I also appreciate how you mentioned about precautionary tips when doing a paint job. Car owners like you can surely maintain it properly for a long time. I’m positive that your car still looks great and that it’s still attracting attention from onlookers.
ReplyDeleteRegards,
Darius Martinez
It is my great pleasure to visit your website and to enjoy your excellent post here. I like that very much.
ReplyDeleteCar Window tinting Utah